No Bake Lemon Pie Recipe – How to Make It in 15 Minutes
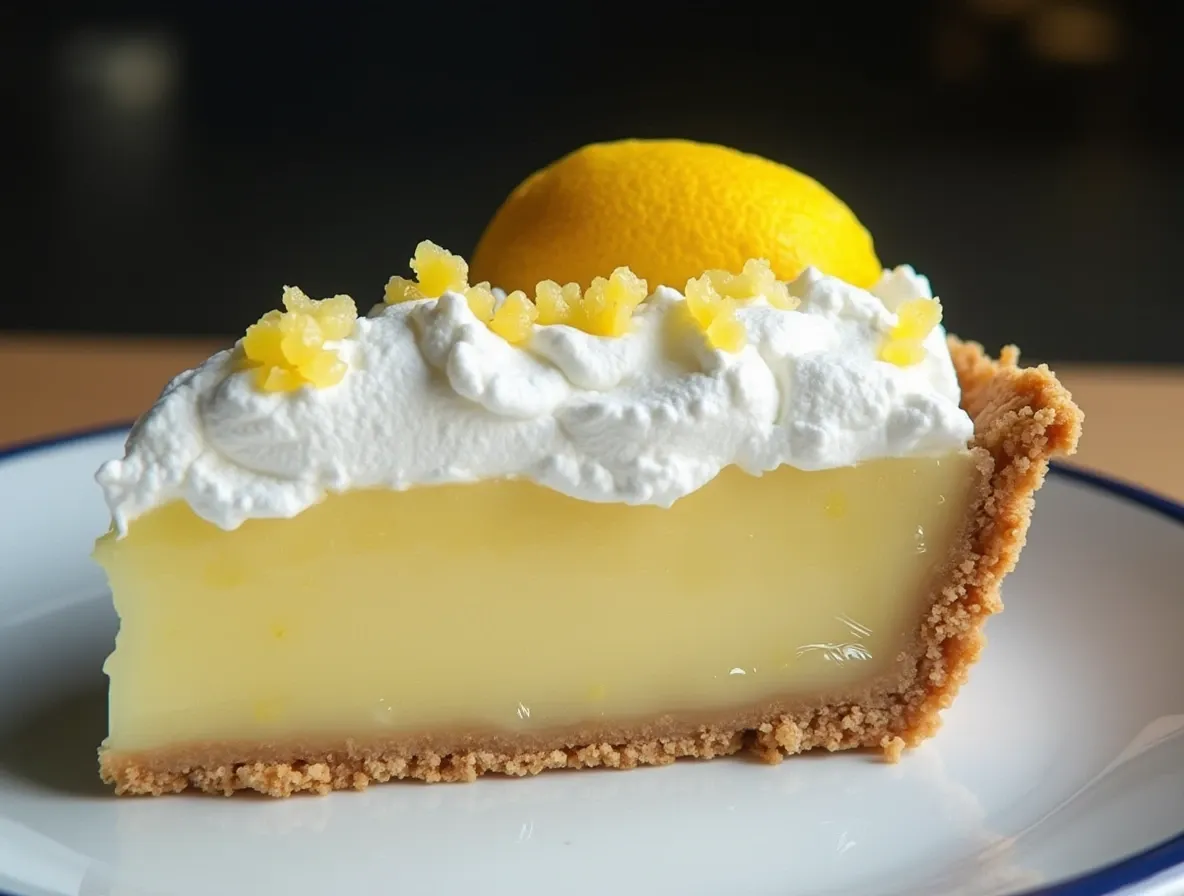
Table of Contents
Introduction: A Slice of Sunshine
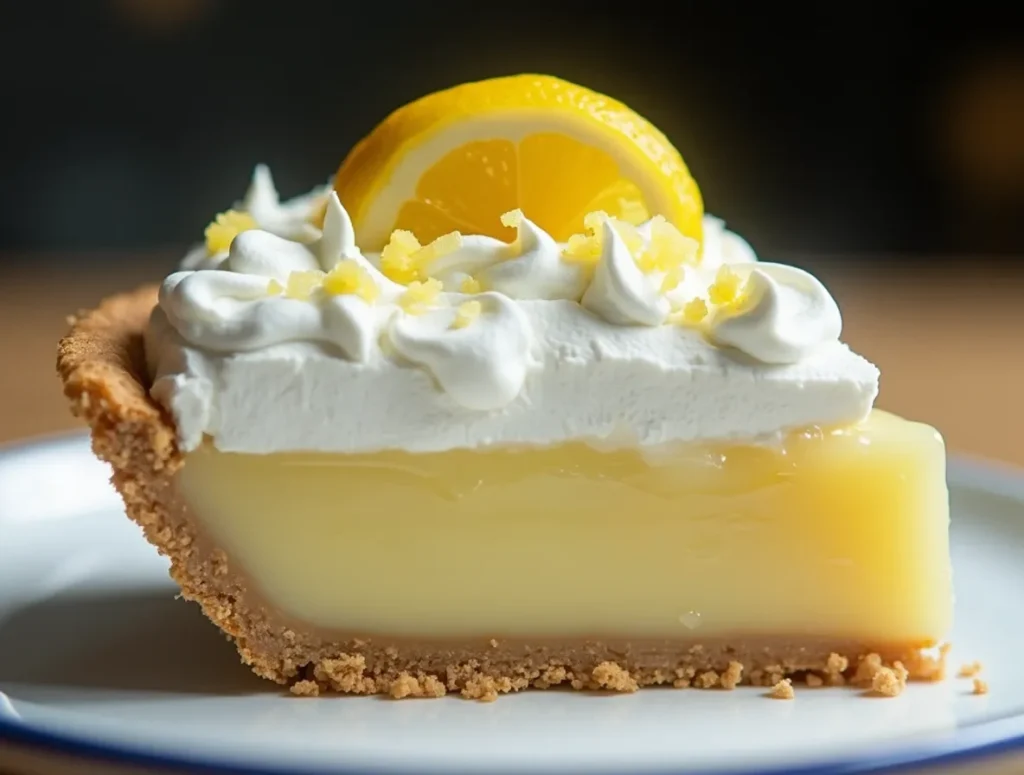
There’s a special kind of magic in desserts that deliver showstopping flavor without ever turning on your oven. This No Bake Lemon Pie is that rare perfect dessert – it’s impossibly light yet satisfyingly rich, vibrantly tangy yet perfectly sweet, and stunning to look at while being shockingly simple to make.
I’ll never forget the first time I made this pie for a family barbecue. My aunt, who’s been baking for 40 years, took one bite and immediately demanded the recipe. That’s the power of this dessert – it tastes like you spent hours in the kitchen, when in reality, you’ll spend just 15 minutes of active prep time before letting the refrigerator do all the work.
What makes this pie truly special:
- Cloud-like texture from the whipped cream folding technique
- Bright citrus punch from using both lemon juice AND zest
- Buttery, crisp crust that requires no baking
- Make-ahead friendly – perfect for entertaining
- Only 7 main ingredients you probably have already
Historical fun fact: Lemon pies became staples in American households after the invention of sweetened condensed milk in 1856. Before refrigeration, this shelf-stable ingredient made creamy desserts accessible year-round. Our recipe honors that tradition with a modern, foolproof approach.
Why This No Bake Lemon Pie Will Become Your Go-To Dessert
1. The Perfect Balance of Flavors
The magic of this pie lies in its harmonious flavor profile. The sweetened condensed milk provides a creamy, caramel-like base that perfectly offsets the sharp acidity of fresh lemon juice. But the real secret weapon? The lemon zest. While the juice provides tartness, the zest delivers those beautiful aromatic citrus oils that make each bite sing with flavor.
Professional pastry chef tip: Always zest your lemons before juicing them – it’s much easier to zest a whole lemon!
2. Cost Effective Gourmet Dessert
Let’s break down the economics behind this No Bake Lemon Pie:
- Bakery lemon pie: $18-$25
- This homemade version: Under $5 total
- Using store-brand ingredients: Even less
Not only is it cheaper, but you also get to control the quality. Want organic lemons? Prefer grass-fed butter? You make those choices when you DIY.
3. Texture Heaven
The combination of the crunchy graham crust with the airy, mousse-like filling creates what I call “texture harmony.” When developing this recipe, I tested multiple versions and found that whipping the cream separately (rather than using pre-made whipped topping) gives the filling an ethereal lightness that’s simply irresistible.
Ingredients: Quality Matters For No Bake Lemon Pie Recipe
For the Crust (The Sturdy Foundation)
- 1 ½ cups (150g) graham cracker crumbs – About 10 full sheets. For best texture, pulse in a food processor until fine but not powdery.
- ¼ cup (50g) granulated sugar – Helps bind the crust and balances the tart filling
- 6 tablespoons (85g) unsalted butter, melted – Use high-quality butter for best flavor
Alternative crust ideas:
- Gluten-free? Use gluten-free graham crackers
- For nuttier flavor, try crushed ginger snaps or vanilla wafers
- For adults-only version, add 1 tsp finely grated fresh ginger to crust mix
For the Filling (The Star of the Show)
- 1 (14oz/396g) can sweetened condensed milk – Don’t substitute evaporated milk – they’re different!
- ½ cup (120ml) fresh lemon juice – About 2-3 medium lemons. Always use fresh – bottled juice lacks brightness
- 1 tablespoon lemon zest – From about 2 lemons. Wash lemons well before zesting
- 1 cup (240ml) heavy whipping cream – Minimum 36% fat content for proper whipping
Pro tip: Chill your mixing bowl and beaters in the freezer for 15 minutes before whipping cream – it helps it whip faster and higher.
Step-by-Step Instructions (With Pro Techniques)
1. Crafting the Perfect Crust
a. Crumb preparation:
- If starting with whole graham crackers, pulse in food processor until fine crumbs form
- For extra flavor, toast crumbs in dry skillet over medium heat for 2-3 minutes until fragrant
b. Binding the base:
- Mix crumbs with sugar first to distribute evenly
- Add melted butter gradually while stirring – you want all crumbs lightly coated but not swimming in butter
- Test consistency: When squeezed, it should hold its shape briefly before crumbling
c. Pressing technique:
- Use the bottom of a measuring cup to press crumbs firmly into pie plate
- For even sides, press crumbs about 1.5 inches up the sides first, then do the bottom
- Chill for at least 30 minutes – this prevents crumbling when adding filling
2. Creating the Dreamy Filling
a. Citrus prep:
- Zest lemons first using a microplane – avoid the bitter white pith
- Roll lemons firmly on counter before juicing to maximize yield
- Strain juice to remove pulp and seeds
b. Whipping cream perfectly:
- Start with chilled cream and cold equipment
- Whip on medium speed until soft peaks form
- Add 1 tbsp powdered sugar (optional) for stabilization
- Stop when peaks hold their shape when beaters are lifted
c. Combining elements:
- Whisk condensed milk with lemon juice and zest vigorously for 1 full minute – mixture will thicken slightly
- Gently fold in whipped cream in 3 additions using a spatula
- Fold just until no white streaks remain – overmixing deflates the cream
3. Assembly and Chilling
a. Filling the crust:
- Pour filling into center of chilled crust
- Use offset spatula to spread evenly without disturbing crust
- Tap pie plate gently on counter to remove air bubbles
b. The crucial chill:
- Refrigerate uncovered for first hour to set surface
- Then cover loosely with plastic wrap
- Minimum 4 hours, but overnight is ideal for cleanest slices
Serving Suggestions: Beyond Basic
Perfect Pairings
For casual gatherings:
- Fresh berry medley (raspberries, blueberries, blackberries)
- Lightly sweetened whipped cream with vanilla bean
- Crisp butter cookies for dipping
For elegant presentations:
- Candied lemon slices as garnish
- Edible flowers like pansies or violets
- Dusting of powdered sugar in decorative stencil pattern
Beverage companions:
- Iced lavender lemonade
- Sparkling rosé
- Earl Grey tea for contrast
Expert Tips for Pie Perfection
Ingredient Substitutions
- Dairy-free option: Use coconut cream instead of whipping cream and vegan butter
- Lower sugar: Reduce crust sugar to 2 tbsp and use reduced-fat condensed milk
- Extra tang: Add 1 tsp citric acid to filling for professional-level tartness
Troubleshooting Guide
Problem: Crust won’t hold together Solution: Add 1 more tbsp melted butter and press more firmly
Problem: Filling is runny Solution: You may have under-whipped the cream or not chilled long enough
Problem: Too sweet Solution: Increase lemon juice to ⅔ cup next time
Advanced Techniques
- Layered version: Alternate lemon filling with blueberry or raspberry puree layers
- Individual servings: Make in mason jars or ramekins
- Flavor infusions: Steep basil or thyme in the cream before whipping
Storage and Make-Ahead Mastery
Refrigeration Guidelines
- Properly stored (covered tightly), pie lasts 3-4 days
- Place paper towels under lid to absorb condensation
- For best texture, consume within 48 hours
Freezing (Yes, It’s Possible!)
- Freeze whole pie for up to 1 month
- Wrap tightly in plastic, then foil
- Thaw overnight in fridge before serving
- Note: Texture will be slightly denser but still delicious
Reviving Leftovers
- If pie weeps, gently blot moisture with paper towel
- Refresh crust by placing slice under broiler for 30 seconds
- Re-whisk leftover filling to fluff it up again
Frequently Asked Questions
Q: Can I use bottled lemon juice? A: While possible in a pinch, fresh juice makes a noticeable difference in brightness and flavor complexity.
Q: Why did my filling separate? A: This usually happens if the whipped cream wasn’t stiff enough before folding or if overmixed. Ensure proper whipping and gentle folding.
Q: Can I make this without sugar? A: The crust needs some sugar for structure, but you can reduce it. The filling relies on sweetened condensed milk – alternatives would require recipe modification.
Q: How do I get clean slices? A: Use a knife dipped in hot water and wiped clean between cuts. Also ensure pie is fully chilled.
The Science Behind the No Bake Lemon Pie
Understanding why this recipe works helps you master it:
- Acid + Dairy Reaction: The lemon juice’s acidity thickens the condensed milk similarly to how key lime pie works, creating that perfect creamy-yet-light texture.
- Emulsification: The fat in butter binds the crust while the whipped cream’s air bubbles create volume in the filling.
- Chilling Time: This allows the filling to hydrate the crust slightly while firming up the structure for clean slicing.
Variations to Try
Seasonal Twists:
- Winter: Add cranberry swirl
- Spring: Incorporate edible flowers into filling
- Summer: Top with grilled peaches
- Fall: Mix in pumpkin spice to crust
Global Inspirations:
- Italian: Add limoncello to filling
- French: Incorporate lavender honey
- Tropical: Use coconut in crust and garnish with toasted coconut
Final Thoughts
This No Bake Lemon Pie isn’t just a recipe – it’s a revelation in easy dessert making. Whether you’re a busy parent needing a quick treat, a beginner baker building confidence, or an experienced cook looking for a foolproof crowd-pleaser, this pie delivers every time.
The beauty lies in its versatility. Dress it up with elegant garnishes for a dinner party, or keep it simple for weeknight desserts. However you serve it, that first bite of creamy, citrusy perfection will have everyone asking for seconds – and the recipe.
For more no-bake dessert inspiration that’s equally impressive, explore my No-Bake Desserts Collection featuring everything from cheesecakes to chocolate delights.
Now go forth and pie! And remember – the best desserts don’t require an oven, just a little patience while the fridge works its magic. 🍋✨
No Bake Lemon Pie Recipe
Ingredients
For the Crust:
- 1½ cups (150g) graham cracker crumbs
- ¼ cup (50g) granulated sugar
- 6 tablespoons (85g) unsalted butter, melted
For the Filling:
- 1 can (14oz/396g) sweetened condensed milk
- ½ cup (120ml) fresh lemon juice (2-3 lemons)
- 1 tablespoon lemon zest
- 1 cup (240ml) heavy whipping cream, whipped to stiff peaks
Optional Toppings:
- Whipped cream
- Lemon slices or zest
Instructions
Prepare the Crust:
- In a medium bowl, thoroughly mix graham cracker crumbs and sugar
- Gradually add melted butter, stirring until mixture resembles wet sand
- Press firmly into a 9-inch pie dish, covering bottom and sides evenly
- Chill in refrigerator for at least 30 minutes to set
Make the Filling:
- In a large bowl, vigorously whisk together condensed milk, lemon juice, and zest for 1 full minute until slightly thickened
- In a separate chilled bowl, whip heavy cream to stiff peaks
- Gently fold whipped cream into lemon mixture in three batches until fully incorporated
Assemble & Chill:
- Pour filling into prepared crust, smoothing top with spatula
- Tap pie dish gently on counter to remove air bubbles
- Refrigerate uncovered for 1 hour, then cover loosely
- Chill minimum 4 hours (overnight preferred for firmest texture)
Serve:
- Garnish with whipped cream and lemon decorations if desired
- Use a hot knife (dipped in warm water) for clean slices
Notes
- For extra lemon flavor, increase zest to 2 tablespoons
- Can substitute store-bought whipped topping for convenience
- Store covered in refrigerator for up to 3 days
- For clean slices, chill overnight and wipe knife between cuts
- Dairy-free option: Use coconut cream instead of whipping cream